Collagraph - continuing on
- s3792259
- Jun 19, 2023
- 2 min read
I realised that in my last post I didn't show me creating the plates.

I meticulously used PVA glue and red thread (Which will also come in again later). The printer that I have at home has ran out of ink so I used my tablet as a light box and traced the image on the left onto normal printer paper and then stuck it to matt photo paper to add some structure to the plate but also keep it thin.
I wanted to keep the hand drawn look to the plate so I thought using thread as the lines would add this effect.
This image in particular is based upon a medieval drawing of a uterus showing an abortion. I originally took that image and made a sketch/ design that I was going to use for a print.

I came up with this idea while visiting my parents over the Christmas break. I've found that I am much more creative when I am back there, maybe its the lack of distraction?
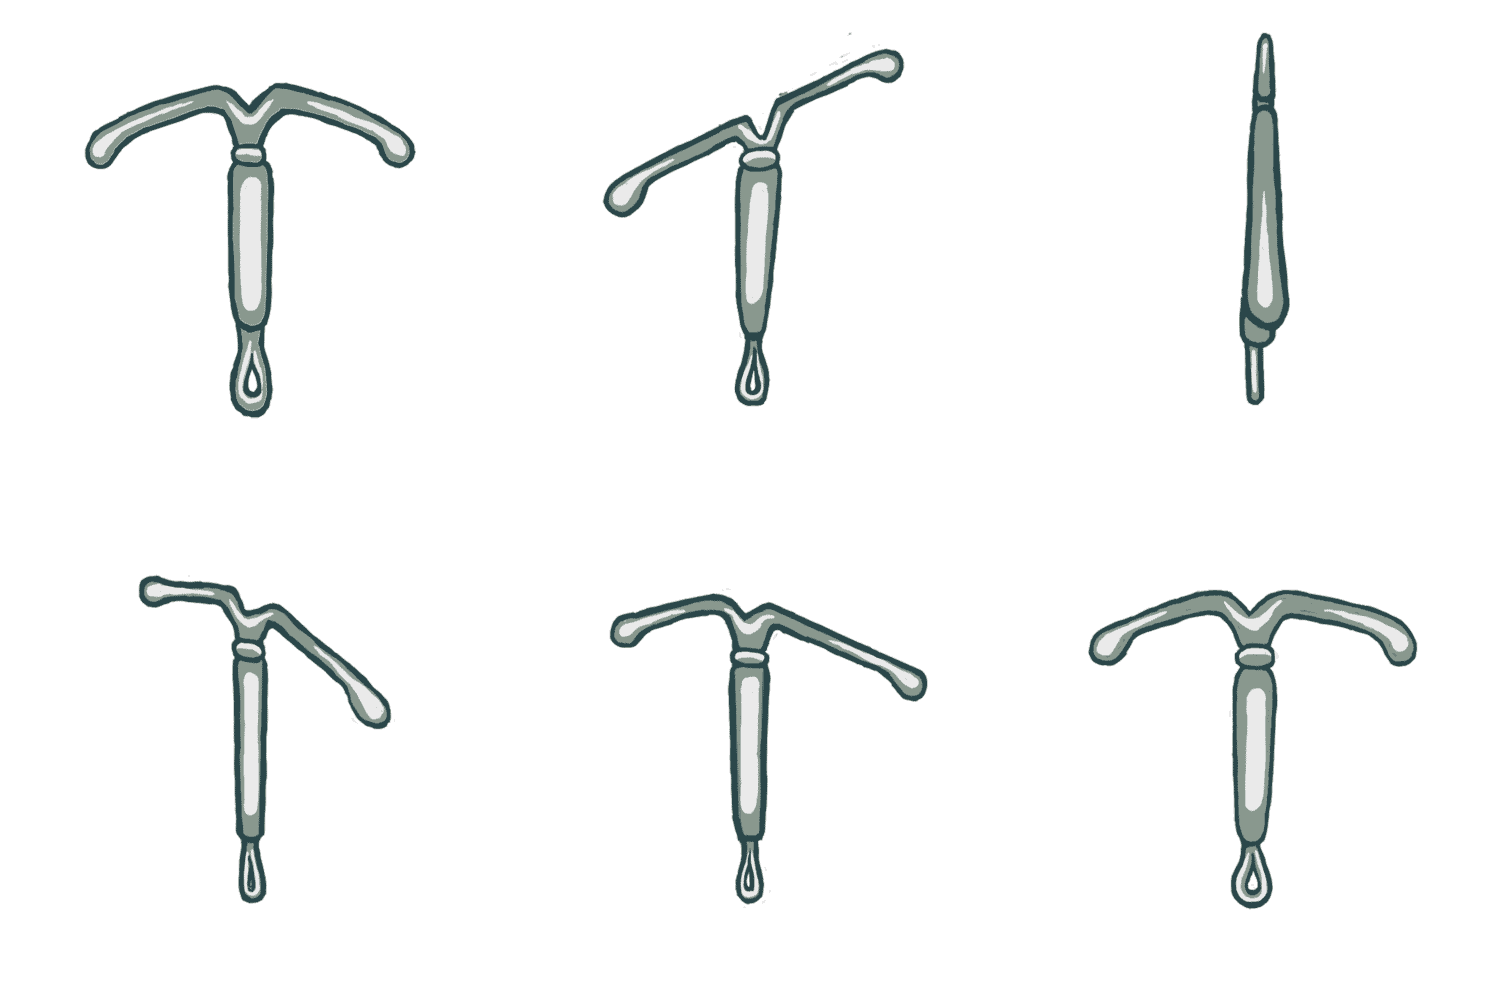
I took out the IUD and the praying hands, just to have the uterus and the umbilical cord.

I wanted to use the smaller plates together and use larger place matt plates to create a triptych print. I bought one large sheet of architecture board - it has a smooth white layer. I cut it into 3 parts and cut the top part into an arch. I used the off cuts as plates as well and wrapped thread around it to create a 'sunburst' effect.
Getting Rag paper that would fit the plates was difficult, one sheet would only be big enough for one plate and had a lot of left over paper. I am trying to be more sustainable and save myself money, so I didn't want to waste expensive rag paper. I worked out that the paper left from tearing the top two plates would be enough left over for the bottom plate, the thread I used for the plates gave me an idea! Id sew the paper together!, I could then also sew the 3 panels together so they would be one piece. This would also create a interesting effect and add to the works.

I tested out how I would stich the paper together using news print first and then off cuts from older prints.


I came up with this stich style, it also helped measuring out where I wanted the stiches to go and punching holes with a etching needle so I wouldn't need to push so hard with the needle.
The way I did this stich meant that I only had to put the needle in from the top of the paper, this helped keep the paper together and even as I didn't need to move the paper around as much.
Stitching paper is different to material as it is not as flexible and could rip easily, that is something I had to think about when stitching.


Comments